Topic of your interest
Metallic effects are not yet metrologically describable in the printing industry. Insufficient knowledge of the mechanical resistance of printed metallic ink layers and with regard to the decline in the metallic effect of coatings, including the possible incompatibility between metallic print and coating, leads to a loss of quality.
In the research project a visual and metrological characterization of metallic prints will be carried out. The influence of typical substrates and different metallic pigments, ink vehicles and coatings on the expression of metallic effects in different printing processes will be investigated. The corrosion and aging resistance to climatic changes and the rub resistance of metallic prints are also part of the task.
Solution steps
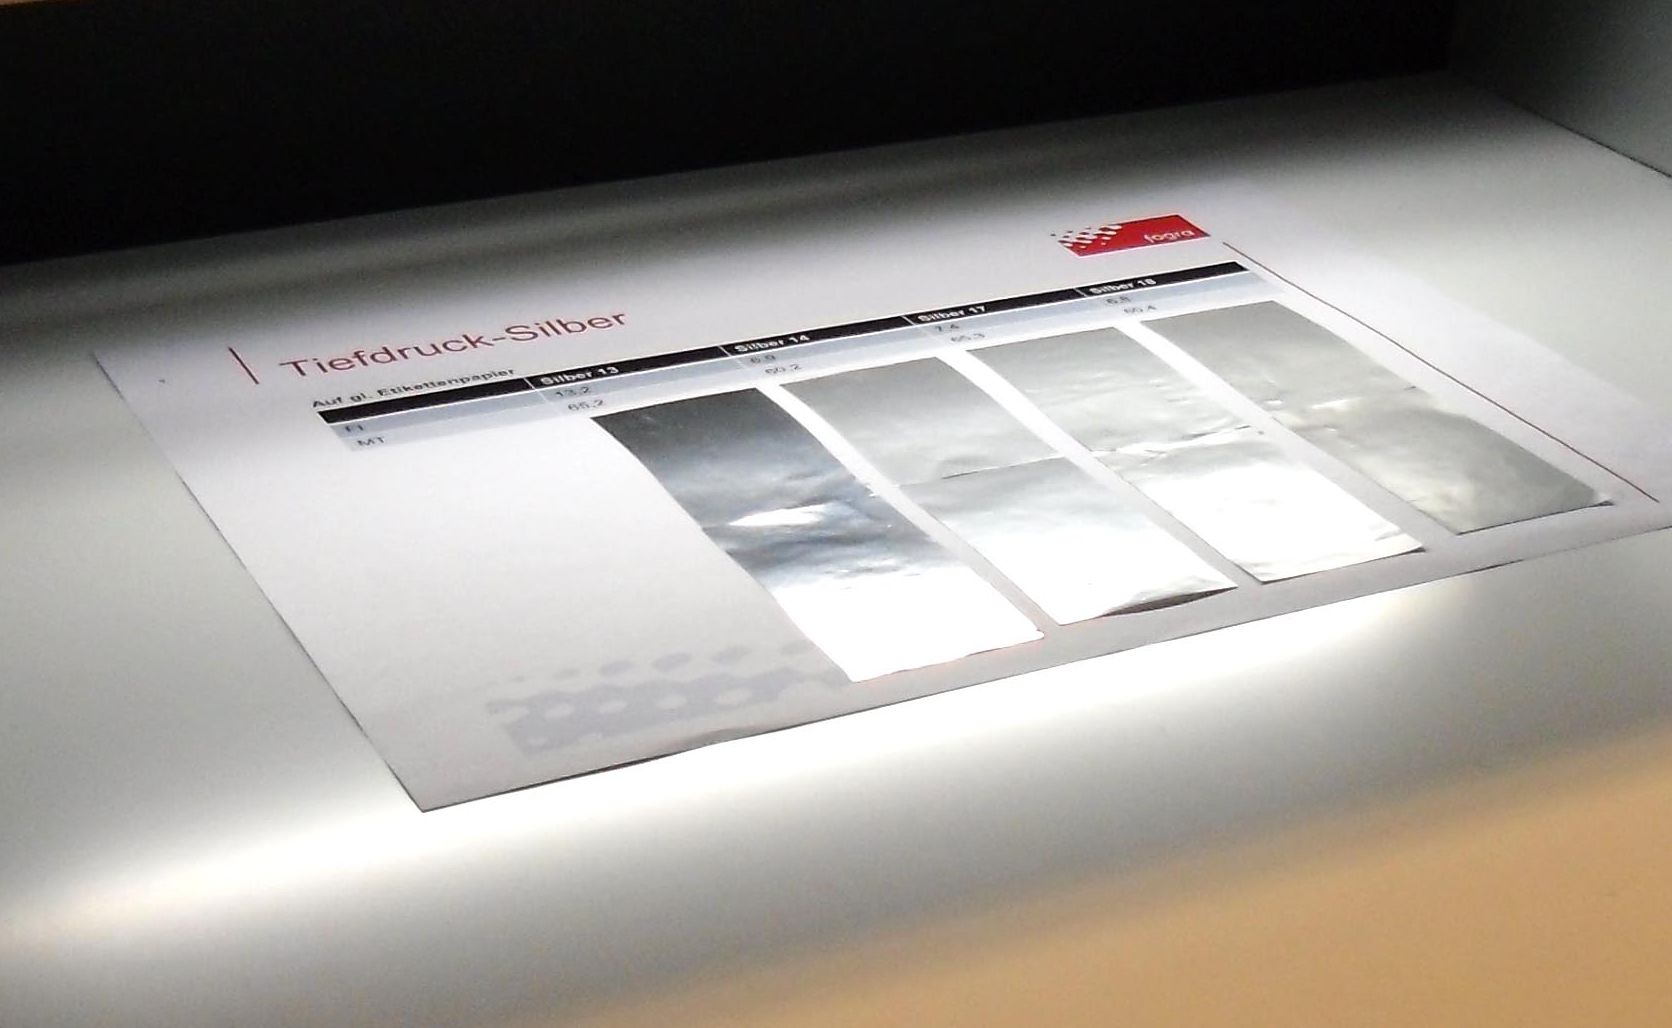
First, metallic samples are produced by varying the printing process (offset, screen, flexo, gravure), the printing ink, the substrate and the pre-/post coating (pre-print ink, overprint varnish). These samples are visually and metrologically evaluated. The visual evaluation is carried out without any specifications by test persons (hierarchical order of the metallic effect), for the metrological evaluation gloss measuring devices, multi-angle colour measuring devices and a goniospectrophotometer are used.
In addition, climatic tests are used to assess the corrosion resistance. The abrasion tests serve as a diagnostic tool for surface strength. Finally, a catalogue of the metallic samples produced is drawn up, indicating the results of the tests.
Achieved results
In the visual evaluation, the test persons agree that there is an outstanding metallic effect with a particularly high mirror-like quality. For samples with a lower metallic effect, different preferences occur: while one group evaluates the (reduced) similarity to a mirror as the most important criterion, the other group sees the overall brightness of the sample (around the mirror angle) as the most important property. The latter property leads to a very lively play of light and shadow in the case of slight surface irregularities near the mirror angle, which both produces glitter effects and is similar to a “hammered” surface (hammering effects). When measuring with multi-angle colorimeters, it turns out that these devices measure too far away from the gloss angle to achieve a reliable match with visual rankings of sample series and therefore cannot give a reliable picture with regard to the metallic effect.
Colour measurement with a goniospectrophotometer, which is used with the aspecular measurement angles of 0°, 5°, 10° and 15°, has proven to be a useful measuring method. Based on their CIE-L* values, these measurements allow a largely reliable sample differentiation in accordance with visual assessments.
In principle, a high smoothness of substrate and counter surface has had a positive effect on the abrasion tests. No clear ranking of rub resistance was found among the printing processes. The UV systems were only marginally superior to conventional systems.

